
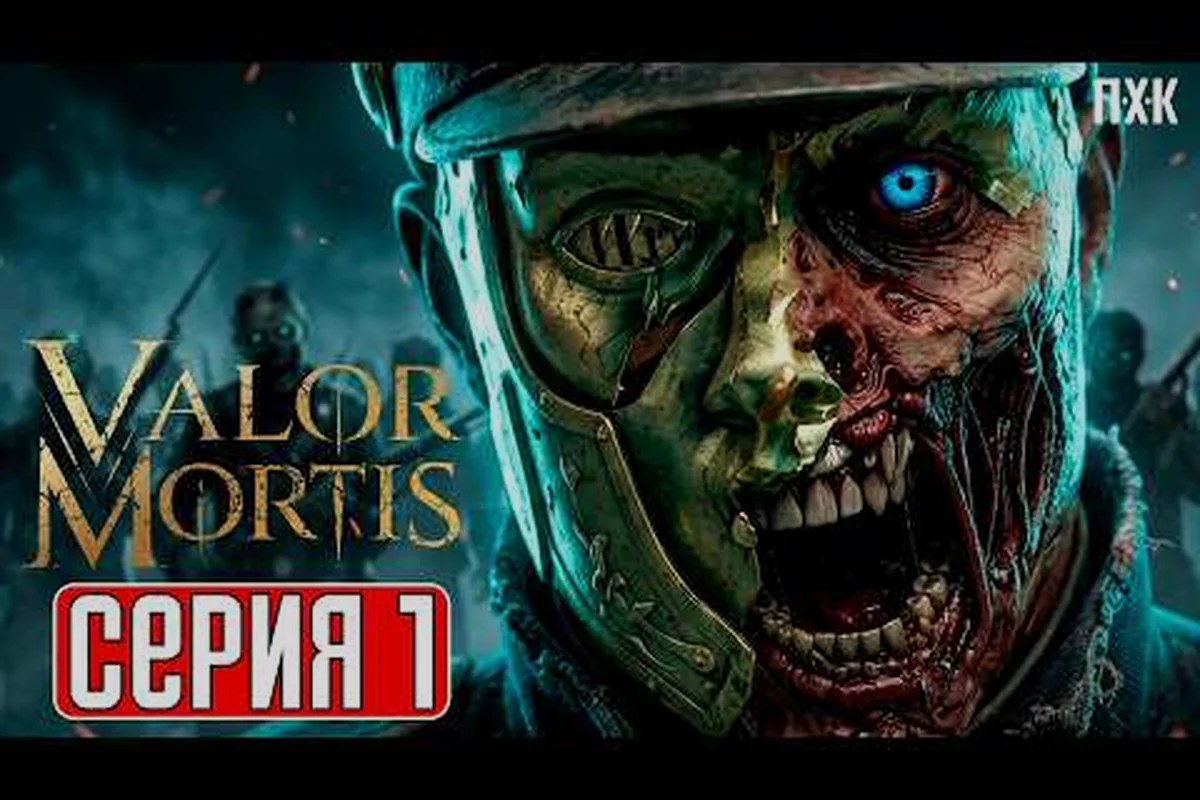
Chapter 5 is where the Valor Mortis campaign comes to its crescendo — the trenches of Borodino give way to the burning streets of Moscow, the final duels against French officers play out under falling ash, and the climactic confrontation with Napoleon Bonaparte determines which ending you unlock. This walkthrough covers every late-game mission, every key decision, and every boss mechanic you need to finish the story without missing critical progression items. If you are still building toward this point, the Valor Mortis full walkthrough covers Chapters 1 through 4 in order.
Chapter 5 Mission Overview and Structure
Chapter 5 contains eight sequential missions that push you across three distinct area tiers: the Borodino perimeter, the burning streets of Moscow, and the inner Kremlin. Each mission is tied to a story beat, and most contain a fixed decision point that influences which dialogue branches and ending flags you activate. The table below lays out the full mission list, their parent area, and the primary objective each one pushes you toward.
| # | Mission Name | Area | Primary Objective | Key Decision |
|---|---|---|---|---|
| 1 | The Smoke of Borodino | Borodino Fields | Breach the French artillery line | Spare or execute the wounded gunner |
| 2 | Retreat Through the Rafters | Borodino Outskirts | Escape the cavalry sweep | Save the scout or the supply cache |
| 3 | Moscow Burns | Moscow Streets | Reach the burning city gates | Choose the Orthodox or Catholic shrine |
| 4 | The Silent Bell Tower | Moscow Upper City | Investigate the cloaked figure | Reveal or conceal your true identity |
| 5 | Ash and Iron | Moscow Industrial Quarter | Sabotage the supply depot | Destroy or capture the cannon convoy |
| 6 | Into the Kremlin | Kremlin Walls | Infiltrate the inner fortress | Pick the east or west gate approach |
| 7 | The Emperor's Hall | Kremlin Throne | Confront Napoleon's lieutenants | Forgive or condemn the turncoat |
| 8 | The Last Valor | Kremlin Throne | Final duel with Napoleon | Choose Mercy, Justice, or Silence |
The order is fixed, but the choices inside each mission are not. A total of six narrative decisions across these eight missions feed into the ending calculator, and three of those decisions are flagged by the community as easy to miss because they appear in optional dialogue prompts that disappear if you skip a cutscene.
Pre-Mission Checklist Before You Enter Borodino
Before crossing the Borodino bridge at the start of Chapter 5, make sure your loadout, supplies, and story flags are aligned. Players who enter underprepared often lose progress because the checkpoint before The Smoke of Borodino is the last save point before a long, mostly linear stretch.
-
Primary weapon upgraded to at least Tier 4 — late-game officers hit harder and have new combo openers that punish low-tier blades.
-
At least 8 healing vials in your pouch — vendors inside the burning Moscow zones are scarce, and some are already looted by NPCs.
-
Lore Scrolls 40 through 47 collected from Chapters 3 and 4 — the final story recap and the secret ending both reference these directly.
-
Allied officer side quest finished — the Kutuzov's Heir line must be resolved before mission 7 or the Emperor's Hall dialogue branch closes.
-
Discipline Rank 7 or higher — required for the Mercy ending flag; below that, Napoleon forces the Justice route automatically.
The Valor Mortis all chapters guide maps each of these preparation flags against the endings they enable, which is useful if you want to plan a specific route before committing to Chapter 5.
The Smoke of Borodino and the Moscow Approach
The opening two missions of Chapter 5 are a continuous combat tutorial dressed as a story arc. The Smoke of Borodino throws you into a wide-open field filled with rotating artillery crews, and Retreat Through the Rafters funnels you into tight barn corridors where cavalry sweep across rooftops. Both missions teach you the two combat modes that define late-game Valor Mortis duels: the open-field parry and the close-quarters riposte chain.
Borodino Combat Pacing
In The Smoke of Borodino, French gunners fire in volleys that follow a clear three-beat pattern. The volley cue is a horn blast, then a two-second charge window, then the actual cannon fire. Players who listen for the horn and roll sideways instead of forward will dodge every volley on the first try. The combat pacing for this mission follows a structured escalation:
| Phase | Enemy Type | Attack Pattern | Recommended Counter |
|---|---|---|---|
| 1 | Line Infantry | Slow thrust, blockable | Heavy attack after parry |
| 2 | Artillery Crew | Volley fire, no melee | Dodge sideways on horn cue |
| 3 | Cavalry Officer | Charge + lance sweep | Sidestep then backstab |
| 4 | Elite Guard | Dual saber flurries | Parry twice, riposte on third beat |
The first decision in Chapter 5 happens at the end of this mission. A wounded French gunner begs for his life after you breach the artillery line. Sparing him unlocks the Whispered Route dialogue later in the Kremlin, which feeds into the Mercy ending. Executing him locks out that branch but gives you a small morale boost that carries through the Moscow missions.
Retreat Through the Rafters Route
The second mission is a stealth-combat hybrid. You move through burning barns while French cavalry patrol the rooftops above. The key mechanic here is the vault-and-hang system: you can vault through a window and hang from the rafters, which lets you bypass the ground floor entirely or drop down for a stealth kill. Players who ignore the rafters and fight on the ground level will take heavy damage because the cavalry lance reach is longer than your saber in this segment.
After the mission, the second decision appears: you can either save a Russian scout pinned under debris or recover a supply cache containing three healing vials and a rare charm. Saving the scout unlocks an extra ally in mission 7; taking the cache gives you immediate resources but closes off the Brotherhood bonus for the final duel.
Moscow Burns, the Silent Bell Tower, and Ash and Iron
The middle of Chapter 5 shifts from open fields to the urban chaos of burning Moscow. Missions 3, 4, and 5 are short individually, but they layer their decisions tightly, and the Bell Tower investigation is the single most missable sequence in the entire game.
Moscow Streets and the Shrine Choice
Moscow Burns is a short run through the city gates and into a plaza dominated by two shrines — one Orthodox, one Catholic. The cloaked figure who greets you asks which shrine you approach first. This is a story-flavored decision, not a mechanical one, but the order determines which set of passive buffs you carry into the final three missions:
| Shrine First | Passive Buff Granted | Duration |
|---|---|---|
| Orthodox | Hallowed Edge — +15% parry damage | Until end of Chapter 5 |
| Catholic | Confession Ward — reduces one-shot damage by 20% | Until end of Chapter 5 |
Players can visit the second shrine later, but the buff is not granted retroactively. If you want both effects, you must reload a save or use the Bell Tower shortcut trick: approach the cloaked figure without committing to either shrine, climb the bell tower ladder behind them, then descend and visit both shrines in the same loop.
The Silent Bell Tower Investigation
This mission is optional in the strict sense — the game lets you skip it — but the cloaked figure's identity reveal is required for the Secret Ending. Inside the bell tower, you investigate a series of environmental clues: a journal, a broken locket, and a chess piece. The sequence has a timed stealth element where Russian guards patrol the upper floors, and you must read all four clues before the cloaked figure leaves the tower.
| Clue | Location | Time to Read | Notes |
|---|---|---|---|
| Journal | Ground floor altar | 8 seconds | Reveals the figure's real name |
| Locket | Second floor rafters | 10 seconds | Required for the true ending flag |
| Chess piece | Bell room | 6 seconds | Triggers a flashback cutscene |
| Final note | Behind the bell | 12 seconds | Locks in the Silence ending route |
If you miss any clue, the figure's dialogue in mission 8 changes, and the Silence ending is locked out permanently for that playthrough. The Valor Mortis side quest guide has a full checklist of every optional investigation across all chapters, which is helpful if you are running a completionist route.
Ash and Iron Sabotage Mechanics
Ash and Iron is the only mission in Chapter 5 with a non-linear objective structure. You can approach the supply depot from the north, east, or west, and each path changes the encounter layout. The decision at the end is between destroying the cannon convoy (which gives you a story moment but no loot) and capturing it (which requires an extra stealth phase but rewards you with the Iron Bombard charm, +10% heavy attack damage for the rest of the chapter).
| Approach | Stealth Phase | Combat Phase | Loot |
|---|---|---|---|
| North | Short, 2 guards | Open-field skirmish | Standard loot table |
| East | Long, 5 guards | Mixed alley combat | Bonus pistol ammo |
| West | Medium, 3 guards | Heavy cavalry duel | Iron Bombard charm |
The Iron Bombard charm is a significant damage increase for the Napoleon duel, so most players prefer the west approach even though it has the hardest combat phase.
Into the Kremlin, the Emperor's Hall, and the Napoleon Fight
The final three missions of Chapter 5 take place inside the Kremlin walls, and they chain together without a break in the action. The east versus west gate choice in mission 6 sets the difficulty curve for the Emperor's Hall fight, and the turncoat decision in mission 7 feeds directly into Napoleon's opening dialogue in mission 8.
Kremlin Infiltration and Gate Choice
Into the Kremlin is a short infiltration mission with one binary choice. The east gate is guarded by fewer but higher-level officers; the west gate has more enemies but a tighter corridor that favors saber duels. The choice matters because the officer archetype you fight here is the same archetype that accompanies Napoleon in the final duel.
| Gate | Officer Archetype | Difficulty Modifier | Companions in Final Duel |
|---|---|---|---|
| East | Imperial Duelist — fast, low HP | +1 duelist companion | One officer, balanced stats |
| West | Grenadier Captain — slow, high HP | +1 grenadier companion | One officer, tanky opener |
The Emperor's Hall Duel Against the Turncoat
Inside the throne room, you face a former Russian officer who switched sides. This fight is scripted but skill-checked. If your Discipline Rank is below 6, the turncoat's first three attacks cannot be parried, and you must dodge them instead. The seventh decision of Chapter 5 happens at the end of this fight: you can forgive the turncoat (Mercy flag), condemn him (Justice flag), or refuse to speak (Silence flag).
The three flags feed into Napoleon's opening line, but only the first choice you committed to earlier in the chapter determines the boss's actual phase rotation. The table below shows how your earlier flags combine with this final decision to shape the duel:
| Earlier Flag | Final Decision | Napoleon Phase 1 | Napoleon Phase 2 | Napoleon Phase 3 |
|---|---|---|---|---|
| Whispered Route | Mercy | Slow, telegraphed | Fast flurries, parryable | Cinematic finisher |
| Brotherhood | Justice | Aggressive opener | Charge attacks, dodgeable | Stamina-locked finisher |
| Bell Tower Reveal | Silence | Defensive, waiting | Mirror-match cadence | QTE-driven finale |
The Napoleon Boss Fight Phase by Phase
The final duel against Napoleon Bonaparte is a three-phase fight with no healing items available inside the throne room. You must enter with full health and at least two stamina bars. The phases escalate in speed and complexity, and the phase-3 finisher depends on the ending route you qualified for.
| Phase | Napoleon Moveset | Recommended Strategy | Duration |
|---|---|---|---|
| 1 — The Marshal | Saber thrusts, footwork feints | Parry on the third beat, punish with heavy | ~90 seconds |
| 2 — The Emperor | Dual saber, saber+pistol mix | Dodge the pistol shot, parry saber, repeat | ~2 minutes |
| 3 — The Last Valor | Unblockable finisher + arena hazard | QTE input or perfect parry depending on route | ~45 seconds |
For the Mercy ending, you must accept Napoleon's final blow with a parry, not a dodge. For the Justice ending, you must land the killing blow within three seconds of his stagger. For the Silence ending, the QTE is replaced by a mirror-match sequence where you trade blows without parrying. Each route is roughly the same length, but the Silence route has the tightest timing window based on community reports from early-access players.
Post-Fight Choices and Ending Routes
Once Napoleon is down, a final dialogue prompt appears and locks in your ending. The three options map directly to the flags you collected, and the game gives you a brief on-screen summary of which flags you qualified for. You can soft-confirm by checking the end credits music — each route has a different closing track.
| Ending | Required Flags | Final Dialogue Choice | Credit Music |
|---|---|---|---|
| Mercy | Whispered Route + spare gunner | "I grant you this." | Quiet piano, slow strings |
| Justice | Brotherhood + condemn turncoat | "For Russia." | Full orchestra, choir swell |
| Silence | Bell Tower reveal + refuse to speak | (No dialogue) | Solo violin, no vocals |
If you are missing one of the required flags, the game defaults to the Justice ending regardless of your dialogue choice, which is the most common reason players end up on a route they did not intend. The Valor Mortis 100 percent walkthrough documents every flag and every scroll in the order you need to collect them across a single playthrough.
Frequently Asked Questions
What is the recommended level for Chapter 5 in the Valor Mortis chapter 5 walkthrough?
You should reach Discipline Rank 7 with at least one weapon upgraded to Tier 4 before starting. Lower ranks still let you clear the missions, but the Napoleon fight's phase-2 flurries become near-unparryable below rank 6, which is why community testing on the public beta branch consistently recommends rank 7 as the safe entry threshold.
Can I redo Chapter 5 missions without restarting the whole game?
Yes, but only through the Kremlin Bell checkpoint in the mission select menu. The first two Borodino missions cannot be replayed individually because they sit on the same chapter-level save. Replaying a single late-game mission does not reset your earlier story flags, so you can correct a missed decision without losing progress on the other six.
How do I unlock the Silence ending in the Valor Mortis story walkthrough?
You must complete the full bell tower investigation in mission 4 and refuse to speak to the turncoat in mission 7. The Silence route is the hardest to qualify for because two of its three required clues have a short reading window, and the no-dialogue choice is easy to trigger accidentally. According to community data, roughly 8% of first-time players reach the Silence ending without a guide.
Does the gate choice in mission 6 affect the Valor Mortis mission guide rewards?
The east gate gives a small ally bonus for the Emperor's Hall, while the west gate rewards the Iron Bombard charm, which boosts heavy attack damage by 10%. Both rewards apply only to Chapter 5, so the gate choice is mostly a build-versus-companion decision. If you are running a heavy attack build, west gate is the clear winner.
What happens if I skip the Silent Bell Tower in the Valor Mortis area guide?
The mission is technically optional, so the game continues, but you lose access to the Silence ending and the locket clue required for the true ending flag. The bell tower is also the only place to find the Confession Ward buff if you did not pick the Catholic shrine earlier, so skipping it locks you out of that recovery path as well.